
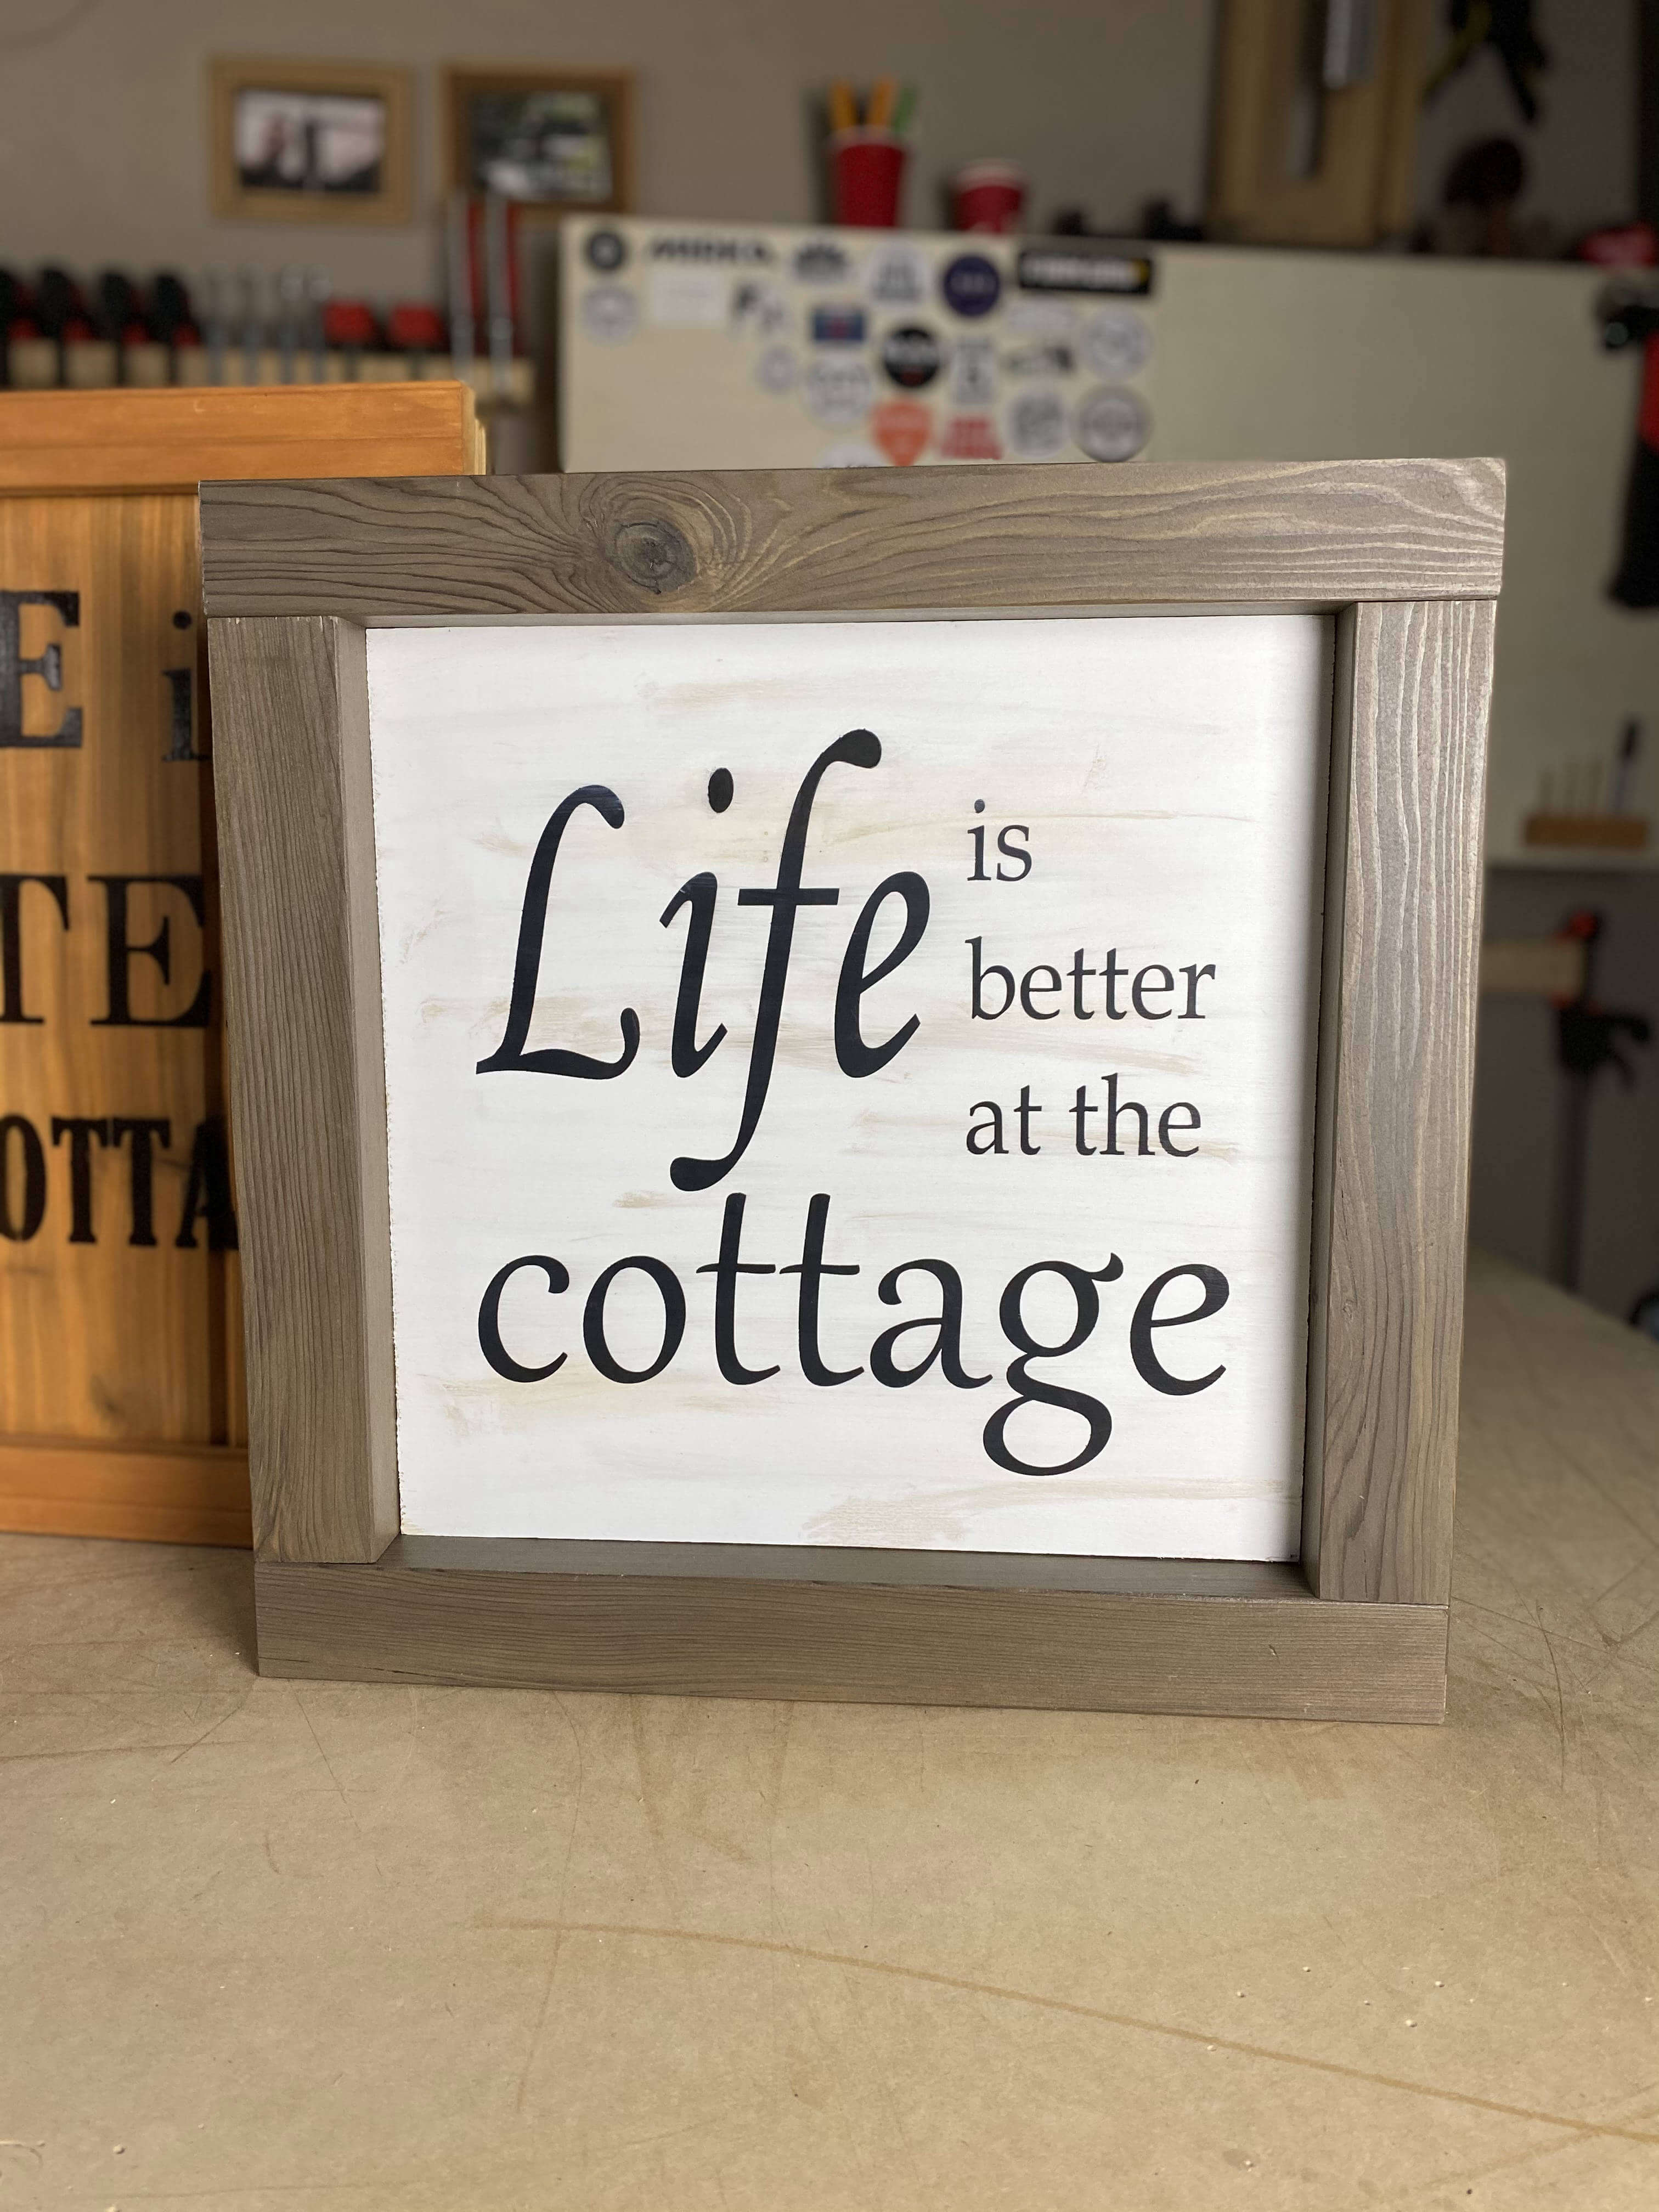
AFTER

Before
STEP 1: Using a circular saw and straight edge, cut your ½” plywood to size. In this case, we decided to make the sign 14” x 14”.
STEP 2: Using a mitre saw, cut the four pieces of 2x2 that will make up the four sides of your sign frame. In this case, because the sign was 14” x 14”, we cut two pieces at 14” (sides) and two pieces at 18” (top & bottom).
STEP 3: Lightly sand your plywood and frame parts. Be sure to soften all sharp edges.
STEP 4: Paint the front of your plywood using Rust-Oleum Chalked Ultra Matte Paint in Linen White.
Notes:
1. For a solid finish, apply a second coat once the first has dried. For a distressed finish, sand lightly with a medium-grit sandpaper once dry.
2. For an additional distressed feel (as done here), very lightly wipe a small amount of your favourite Varathane stain across small sections of your workpiece.
STEP 5: Stain your four frame pieces with your choice of Varathane Ultimate Wood Stain. In this case, we used Briarsmoke.
STEP 6: Cut a stencil with your choice of wording and apply it over the painted plywood. Be sure to cover all other exposed areas of the sign to protect it from overspray.
STEP 7: Apply a light, even coat of Painter’s Touch Ultra Cover Paint (in this case we used Flat Black) to your stencil.
STEP 8: Apply a coat of Rust-Oleum Chalked Protective Topcoat in Matte Clear to your sign.
STEP 9: Attach the frame to your sign using wood glue and clamps.
STEP 10: For added protection, apply 2-3 coats of Varathane Triple Thick One Coat Clear Finish to your frame. Be sure to sand lightly with a fine-grit sandpaper between coats.
STEP 11: Attach hanging hardware to the back of your sign.
Visit Rust-Oleum Canada and MInspiredLiving on Instagram for more tips and inspiration!
#WE_WOOD
Other Materials:
- 1/2" Plywood
- 2" x 2" Lumber of Your Choice
- Random orbital sander
- Hanging Hardware
- Circular Saw
- Straight Edge
- Wood Glue
- Mitre Saw
- Clamps
Discover More Projects
Locate a Rust-Oleum Retailer
