
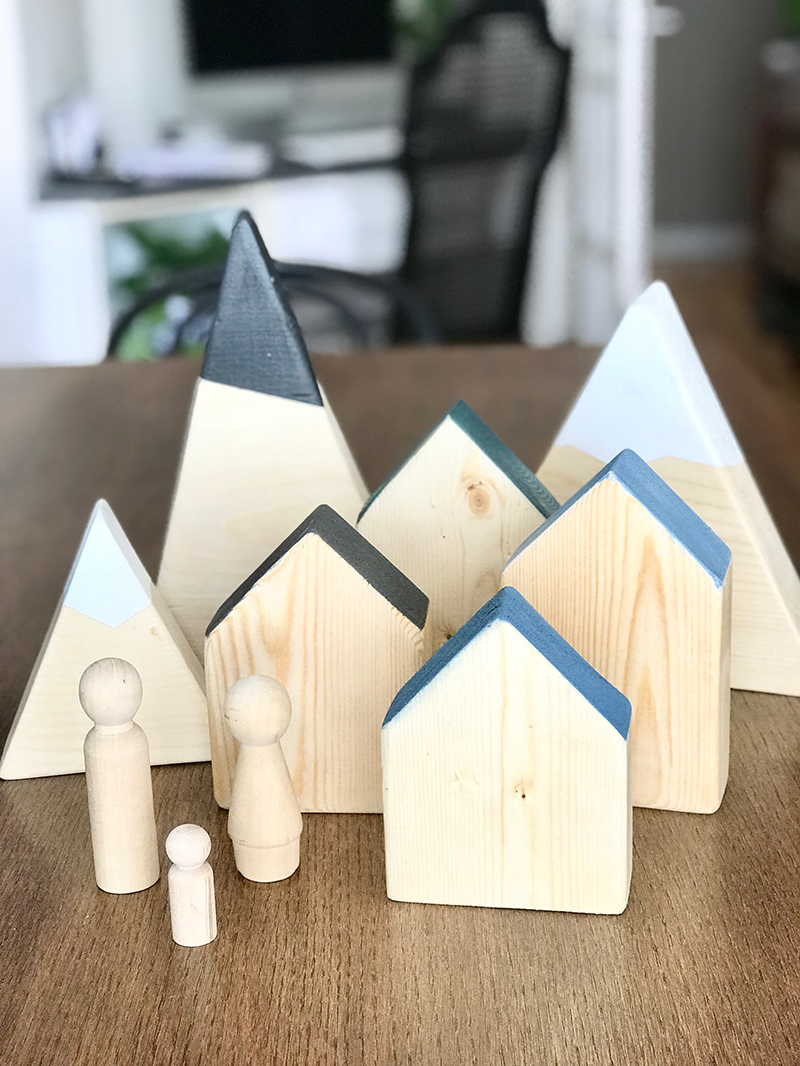
After
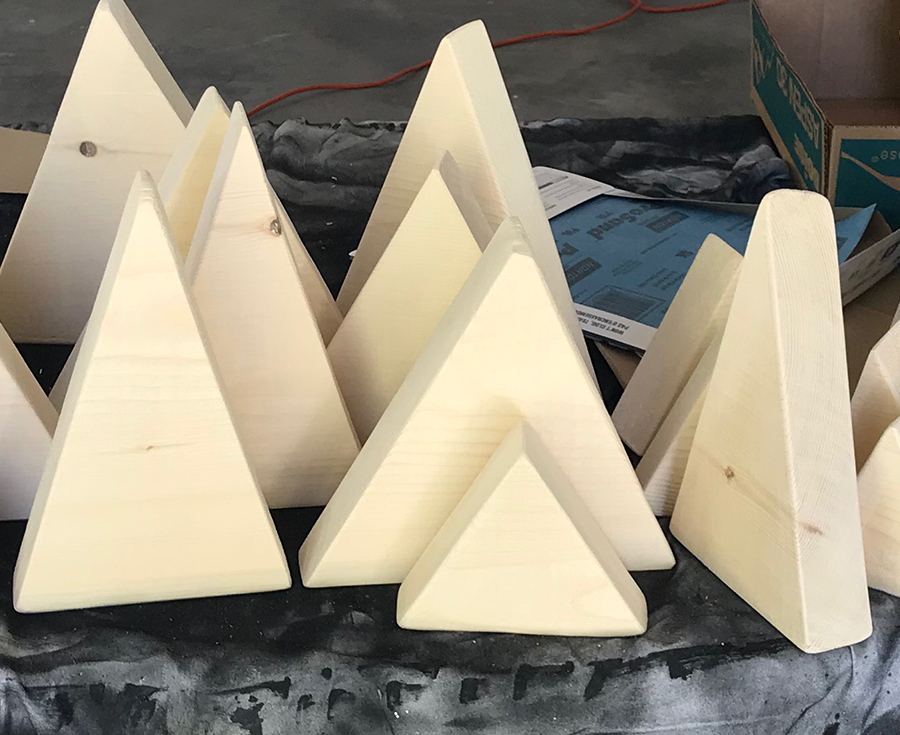
Before
Houses:
-
Mark off the height you want for the finished houses, taking into account the peak of the roof. Cut straight across (using the 90-degree angle on mitre saw) to make a square or rectangle based on your desired height. My houses varied from 4 inches to 8 inches in finished height at the peak of the roofline.
-
Mark the centre point of the roofline and adjust your mitre saw to cut a 45-degree angle. Cut from the centre point at a 45-degree angle to create the roofline.
-
Repeat. You can adjust the angle of the roofline and heights of the blocks to create a variety of sizes and shapes of block homes.
-
Sand surfaces, edges and corners starting with an 80-grit sandpaper and then switching to 120-grit sandpaper. If you wanted to stain the houses instead of using chalkboard paint, you might want to use an even finer grit sandpaper to finish off the wood. Sand the edges and corners, to make them as smooth as possible in order to eliminate the possibility of splinters getting into little fingers.
-
Wipe each piece with a tack cloth to remove sawdust.
-
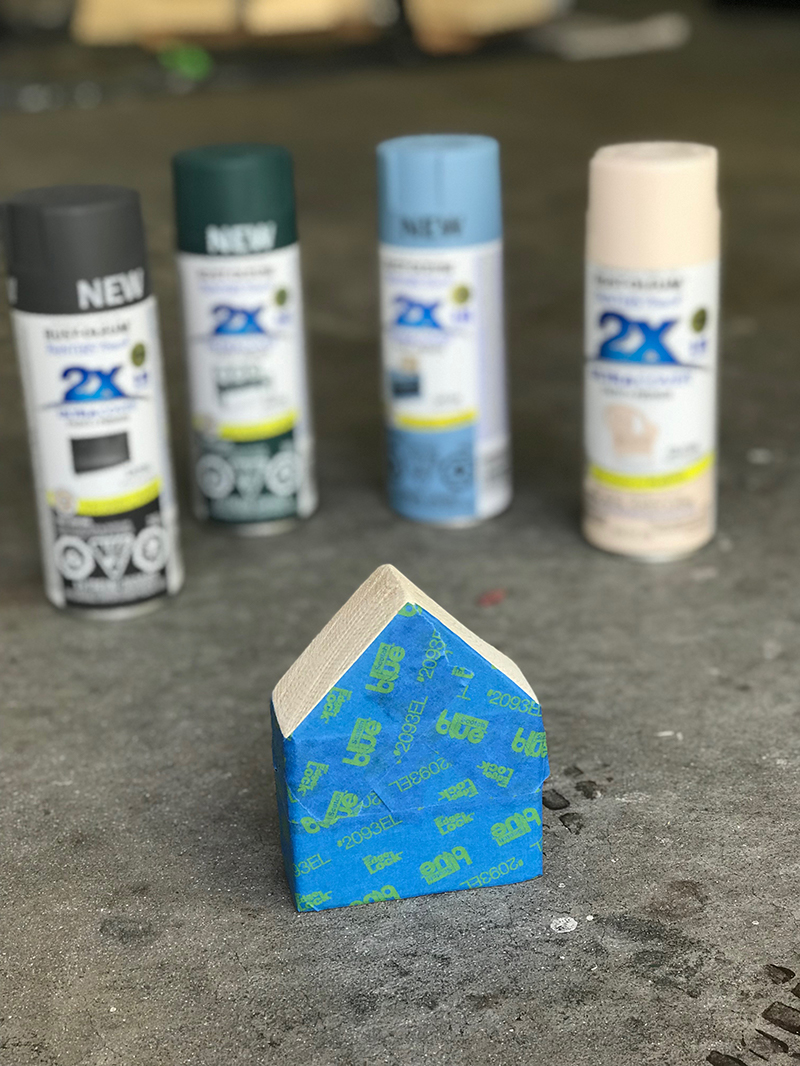
Tape off and cover all sides of houses using painter’s tape and newspaper, leaving the roof exposed.
-
Spray paint roofs in desired colours using light sweeping strokes.
-
Seal the houses with Chalked spray paint in Clear Matte finish.
Mountains:
The directions are similar for the mountains, except you will cut the wood across the widest part at angles to create mountain shapes. You may need to flip the wood to cut using the mitre saw, as it tends to make 4-inch deep cuts.
Follow sanding and painting directions as you would with the houses, except you lay the tape down to make zigzag “snow cap” patterns. Spray with desired colour and seal with the Clear Matte finish.
Visit Rust-Oleum Canada’s Instagram, Facebook and YouTube for more tips and inspiration!
#SprayNewLife
Barbara Marek Matson, who blogs at Markova Design, is a kindergarten teacher by day and design aficionado by night. She is slowly making over her rental home with thrifted finds, using paint and fabric to work her magic.
Other Materials:
- 8’ piece of 2”x 4”, preferably in pine (softer wood and easier to sand)
- 8’ piece of 2” x 8” wood, preferably in pine
- Sandpaper: grits 80, 120
- Sander (I used a belt sander)
- Mitre Saw
- Tack Cloth
- Painter’s Tape & Paper
Locate a Rust-Oleum Retailer
